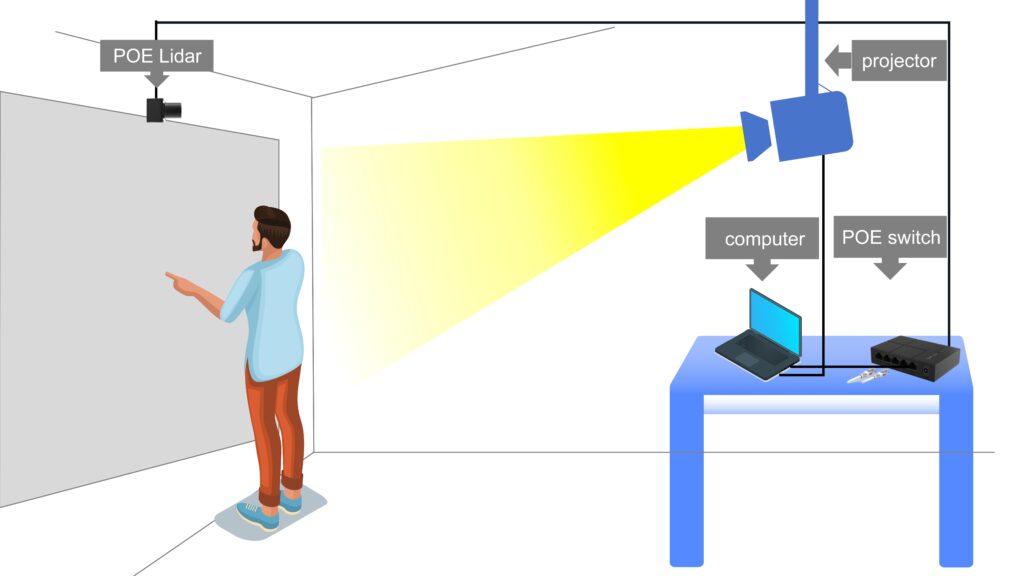
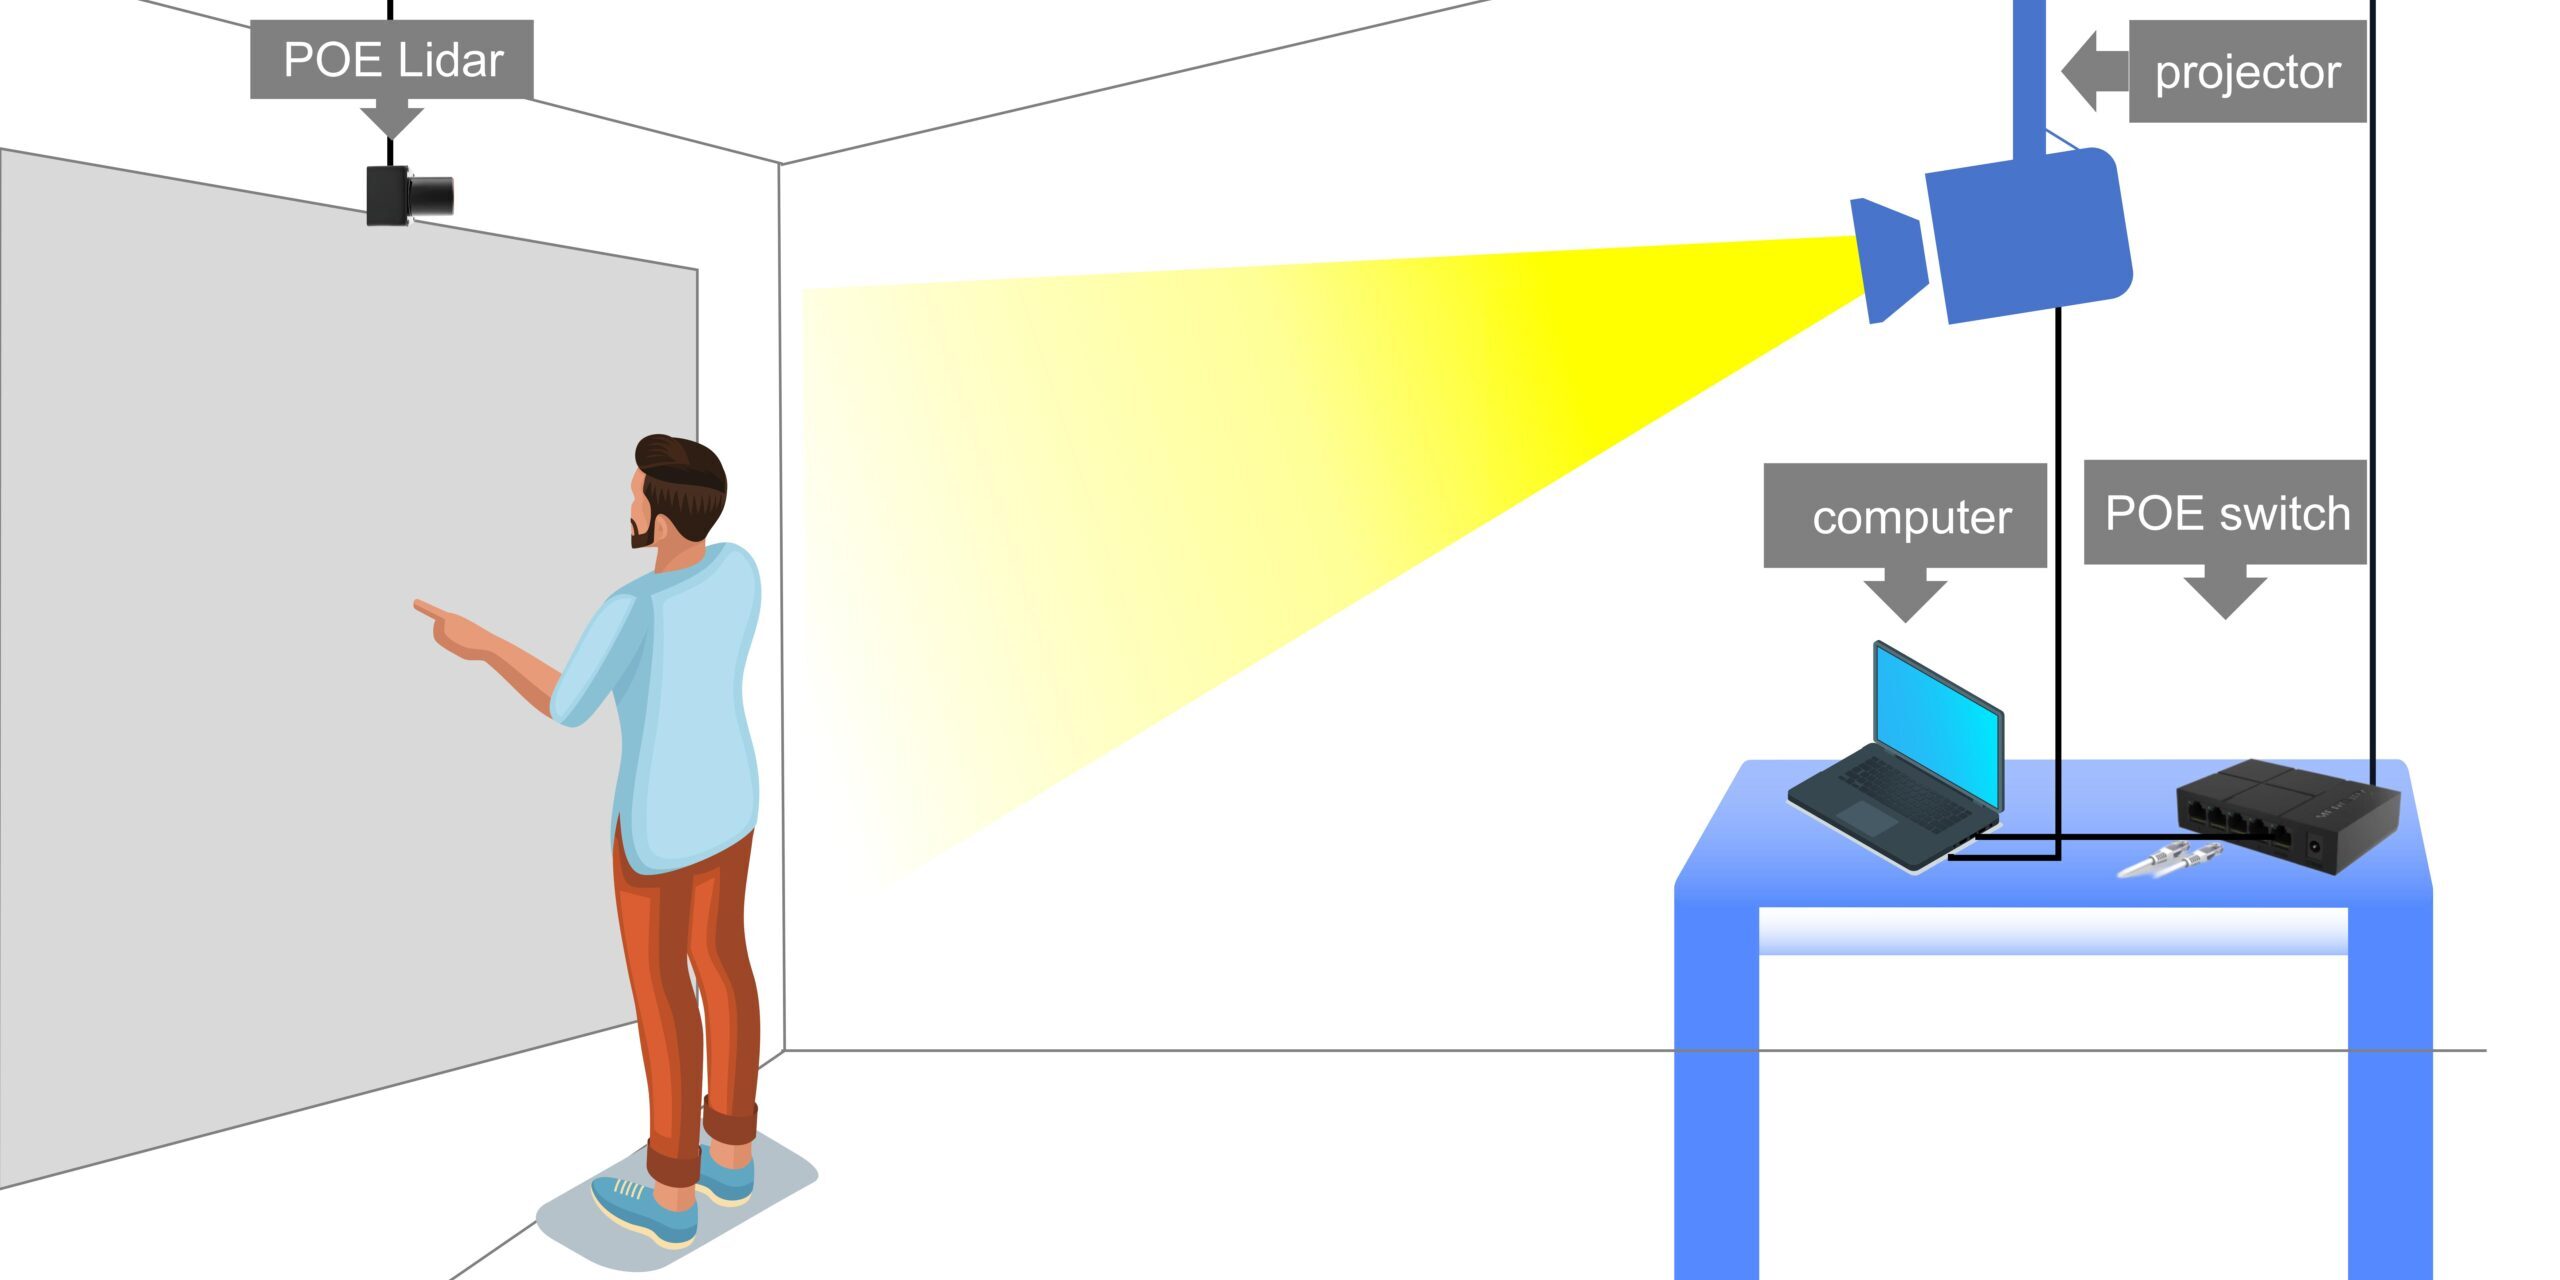
In today’s digital age, interactive displays have become increasingly popular for enhancing user experiences in various settings, such as offices, educational institutions, and public spaces. In this tutorial, we will guide you through the process of creating an interactive wall using a computer, Power over Ethernet (PoE) switch, PoE LiDAR, and a projector.
Components Needed
- Computer: You will need a computer to run the interactive content and connect to the other components.
- PoE Switch: A PoE switch is a network switch that can transmit both data and power over Ethernet cables, eliminating the need for separate power sources for devices like the PoE LiDAR.
- PoE LiDAR: LiDAR (Light Detection and Ranging) is a remote sensing technology that uses laser light to measure distances. The PoE LiDAR can detect and track user interactions on the projected surface, enabling interactive experiences.
- Projector: A projector is required to display the interactive content on a wall or other surface.
- HDMI Cable: An HDMI cable is used to connect the computer to the projector, allowing the transfer of audio and video signals.
- Interactive Content: You will need to have interactive content or software designed for the interactive wall experience.
Step 1: Set up the PoE Network
Begin by connecting the PoE switch to your network or directly to the computer using an Ethernet cable. Then, connect the PoE LiDAR to the PoE switch using another Ethernet cable. The PoE switch will provide both data and power to the LiDAR, simplifying the setup process.
Step 2: Connect the Computer and Projector
Using an HDMI cable, connect your computer to the projector. This will allow the computer to display the interactive content on the projected surface.
Step 3: Position the Components
Position the projector to project the interactive content onto the desired wall or surface. Place the PoE LiDAR in a location where it can effectively detect and track user interactions within the projected area.
Step 4: Install and Configure Software
Install the necessary software or interactive content on your computer. This include applications designed for interactive wall experiences, LiDAR Touch (a LiDAR calibration software), LiDAR scanner (a auto-discover LiDAR software), LiDAR Server (runs in the background to work together with one or multi PoE LiDARs).
Step 5: Calibrate and Test
Once everything is set up and the software is installed, you may need to calibrate the system to ensure accurate tracking and interaction. Follow the instructions provided by us to calibrate the PoE LiDAR and align the projected content with the tracking area.
Test the interactive wall by running the interactive content and performing various gestures or interactions within the projected area. Adjust the settings and positions of the components as needed to optimize the experience.
Step 6: Enjoy the Interactive Wall Experience
With the interactive wall set up and calibrated, you can now enjoy the immersive and engaging experience it provides. Invite users to interact with the projected content through gestures, movements, or other forms of interaction supported by the software and LiDAR technology.

By following this tutorial, you will have successfully created an interactive wall that combines the power of a computer, PoE network, LiDAR tracking, and projector technology, enabling new and innovative ways to engage with digital content.


